User profile
This page allows you to edit various settings of your user profile. To open user profile page navigate to https://platform_address/profile
Settings page
This tab contains general user profile details and info.
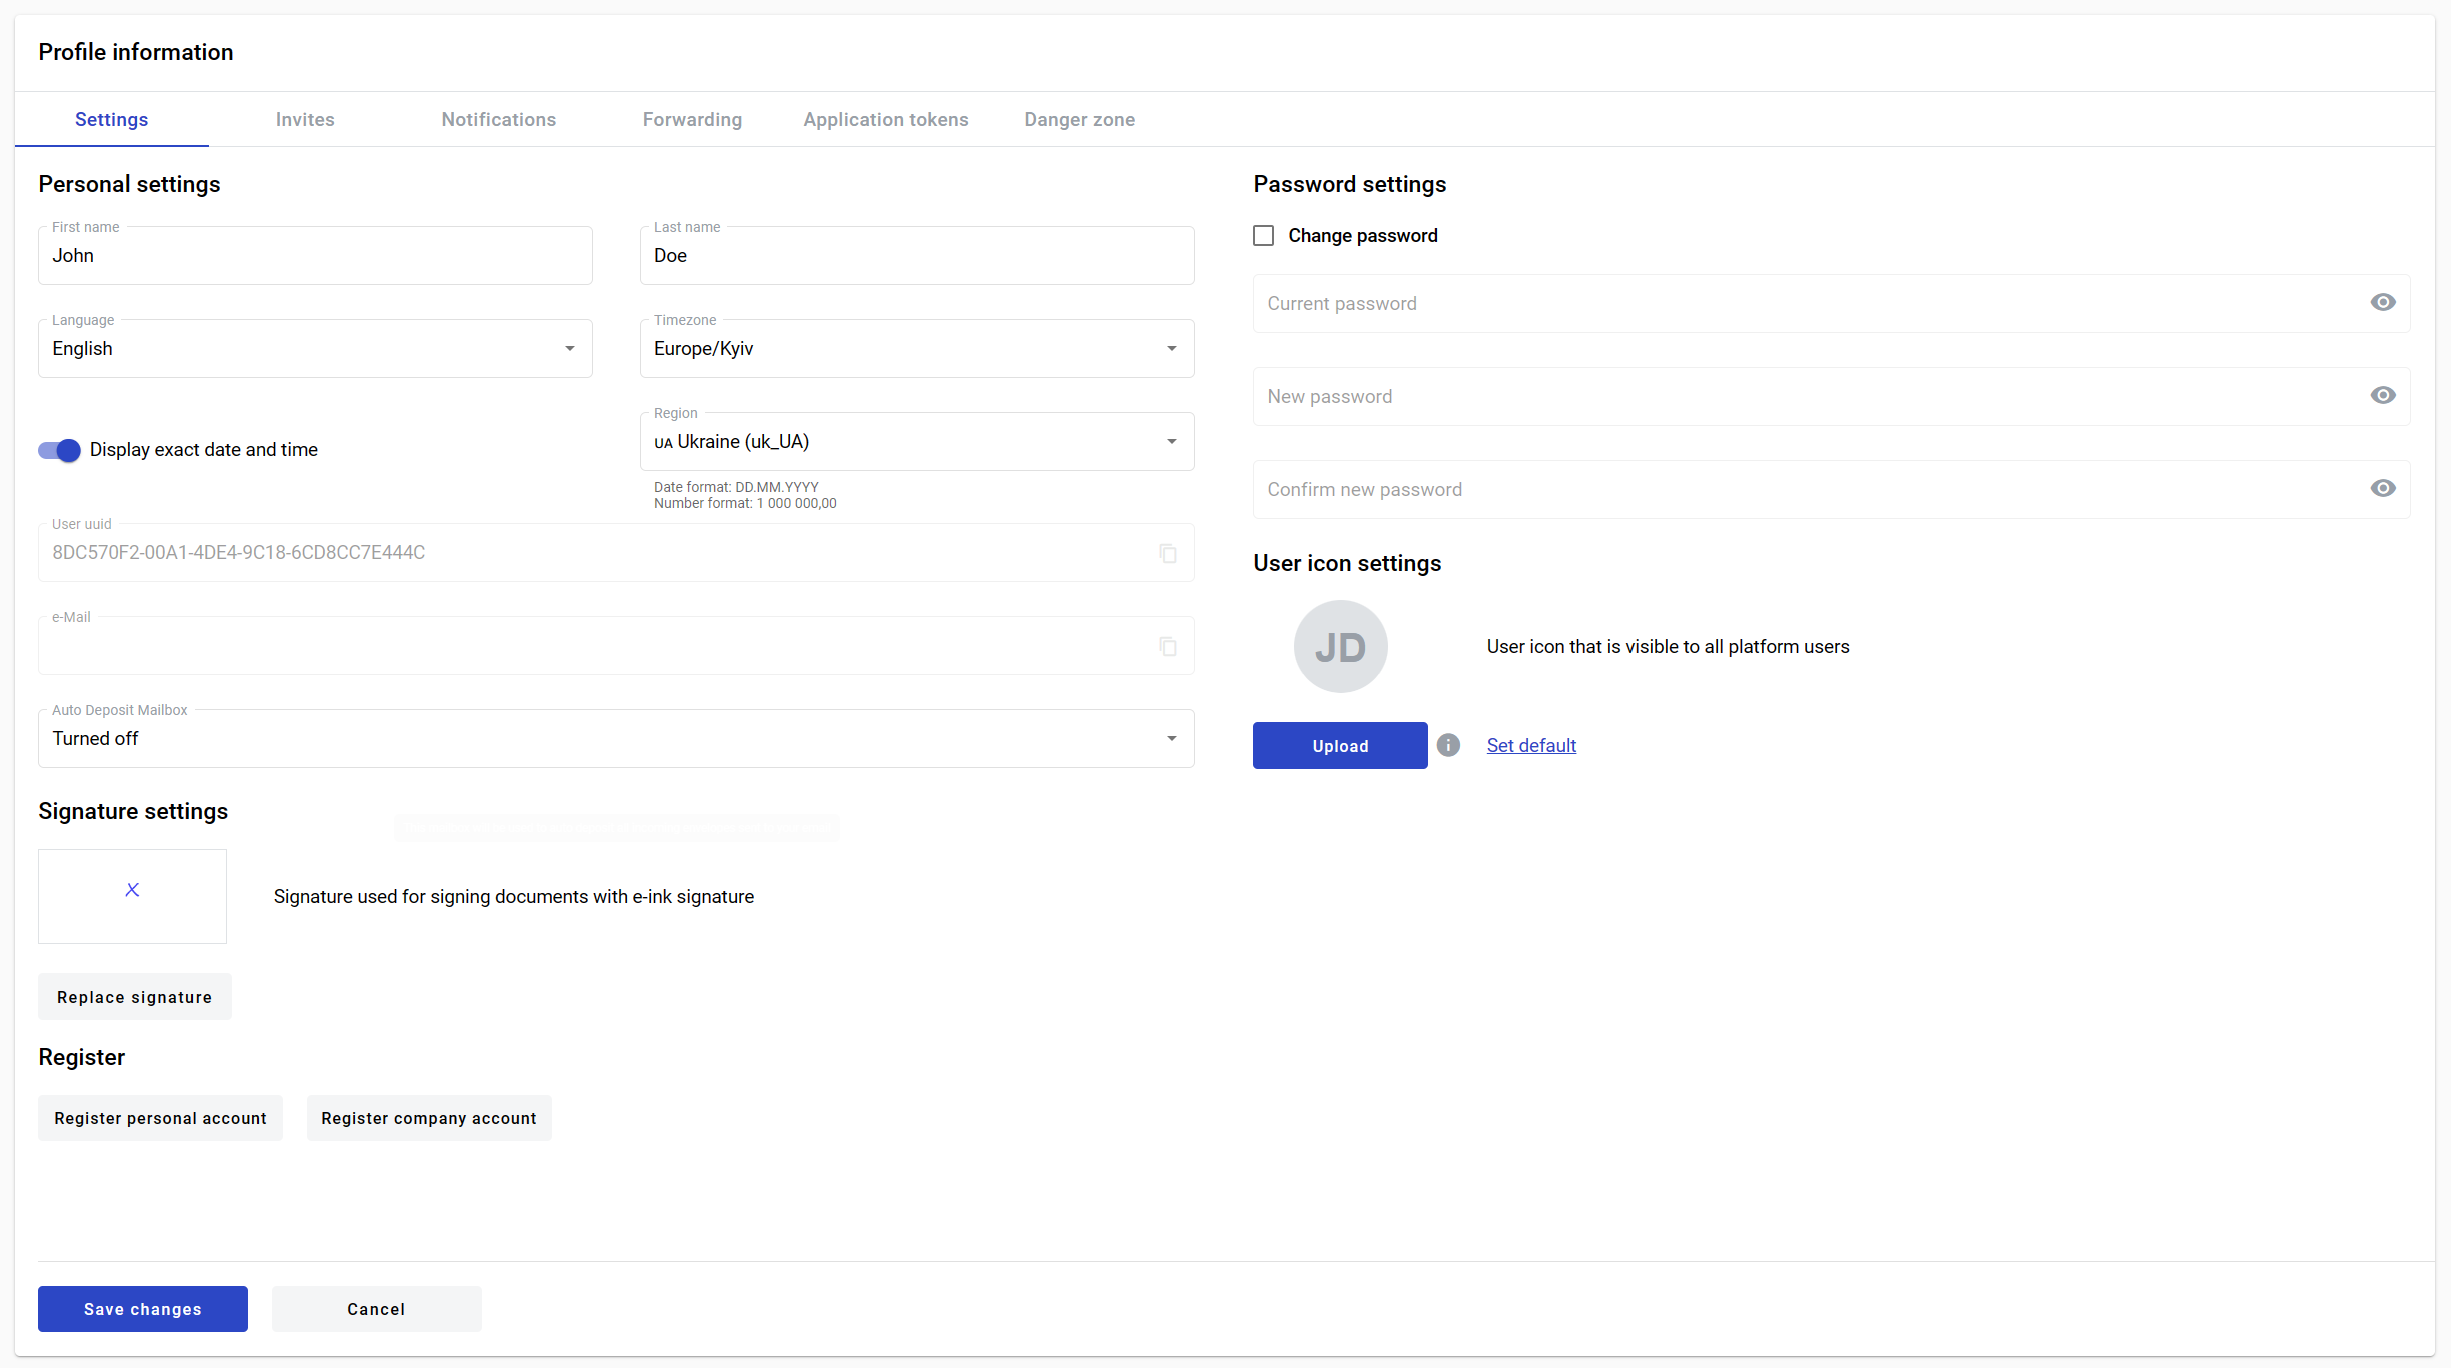
First name
Last name
Language - this is language which will be used in user interface
Timezone - choose your time zone
Display exact date - specifies if absolute (01.01.2023 12:12) or relative (fiwe minutes ago) time is used
Region - specifies regional formats for dates and number, example is shown below the menu
User UUID (can not be changed, only copied)
Email (can not be changed, only copied)
Phone number
Auto deposit mailbox - specifies which mailbox will be used for incoming envelopes. If disabled - you will have to manually specify mailbox for each incoming envelope
Signature settings - here you can create or update your e-ink signature
Initials settings - here you can create or update your initials
Register personal account
Register company account
Additional settings - expandable block, which includes additional profile fields which may be used to prefill data on the envelope
Note
List of additional fields may be different depends on the instance you’re working. General additional fields which are available on each instance: Full name, Birthday, Gender, Residence address, Position, Department, Business, Company full name, Company short name, Company address, Company phone, Company email, Website, Manager position, Manager full name, Manager mailbox, Director full name, Director mailbox, HR full name, HR mailbox, Hire date, Contract number, Contract date, ID / Number, Type, Other
Additional settings fields validations
Field name |
Field limitations |
|---|---|
Full name |
Text field. Min: 1 and max: 500 symbols |
Birthday |
Date field. No limits |
Gender |
Text field. Min: 1 and max: 128 symbols |
Residence address |
Text field. Min: 1 and max: 255 symbols |
Position |
Text field. Min: 1 and max: 128 symbols |
Department |
Text field. Min: 1 and max: 128 symbols |
Business |
Text field. Min: 1 and max: 128 symbols |
Company full name |
Text field. Min: 1 and max: 500 symbols |
Company short name |
Text field. Min: 1 and max: 50 symbols |
Company address |
Text field. Min: 1 and max: 255 symbols |
Company phone |
Text field. Min: 1 and max: 128 symbols |
Company email |
Text field. Min: 6 and max: 255 symbols. Validation pattern: “^[a-zA-Z0-9._%+-]+@[a-zA-Z0-9.-]+\.[a-zA-Z]{2,}$” |
Website |
Text field. Min: 1 and max: 255 symbols |
Manager position |
Text field. Min: 1 and max: 128 symbols |
Manager full name |
Text field. Min: 1 and max: 500 symbols |
Manager mailbox |
Text field. Min: 36 and max: 36 symbols. Validation pattern: “^[0-9a-fA-F]{8}-[0-9a-fA-F]{4}-[0-9a-fA-F]{4}-[0-9a-fA-F]{4}-[0-9a-fA-F]{12}$” |
Director full name |
Text field. Min: 1 and max: 500 symbols |
Director mailbox |
Text field. Min: 36 and max: 36 symbols. Validation pattern: “^[0-9a-fA-F]{8}-[0-9a-fA-F]{4}-[0-9a-fA-F]{4}-[0-9a-fA-F]{4}-[0-9a-fA-F]{12}$” |
HR full name |
Text field. Min: 1 and max: 500 symbols |
HR mailbox |
Text field. Min: 36 and max: 36 symbols. Validation pattern: “^[0-9a-fA-F]{8}-[0-9a-fA-F]{4}-[0-9a-fA-F]{4}-[0-9a-fA-F]{4}-[0-9a-fA-F]{12}$” |
Hire date |
Date field. No limits |
Contract number |
Text field. Min: 1 and max: 128 symbols |
Contract date |
Date field. No limits |
ID / Number |
Text field. Min: 1 and max: 128 symbols |
Type |
Text field. Min: 1 and max: 128 symbols |
Other |
Text field. Min: 1 and max: 1000 symbols |
Note
Do not forget to click the “Save changes” button after editing anything on this page.
How to create your signature?
Go to user profile page
Click the “Add signature” button (or “Replace signature” if you wish to change already existing signature)
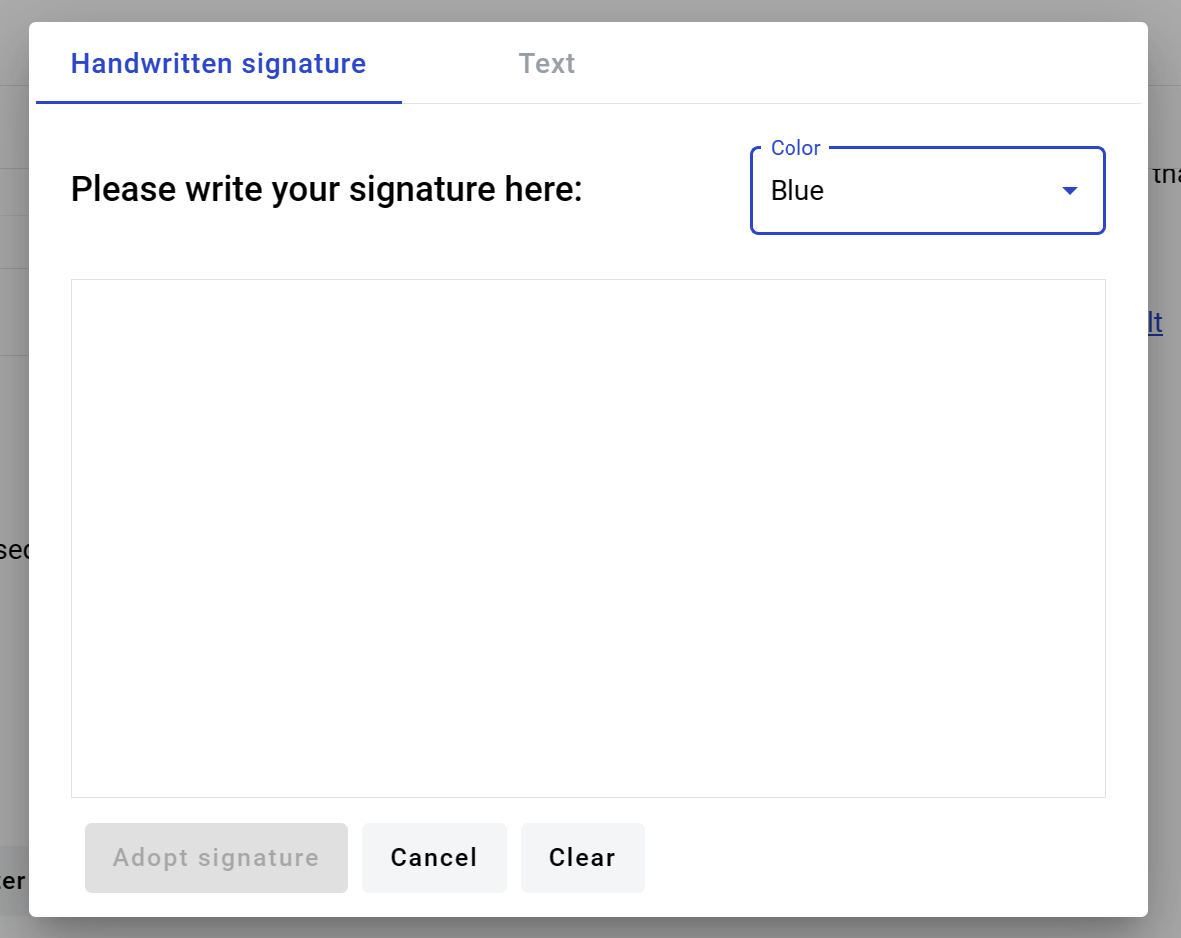
Draw your signature in the opened window
Alternatively, text can be used for signature
Check the “I agree…” checkbox in the modal window
Click the “Save changes” button on the account setting page
How to create your initials?
Go to user profile page
Click the “Add initials” button (or “Replace initials” if you wish to change already existing initials)

Draw your initials in the opened window
Alternatively, text can be used for initials
Click the “Save changes” button on the account setting page
How to create a personal account?
To register new personal account click the “Register personal account” button
In opened window enter a name for the account
Select checkbox “I agree with Terms and conditions and Privacy policy”
Click the “Create” button (it will become active after previous steps are done)

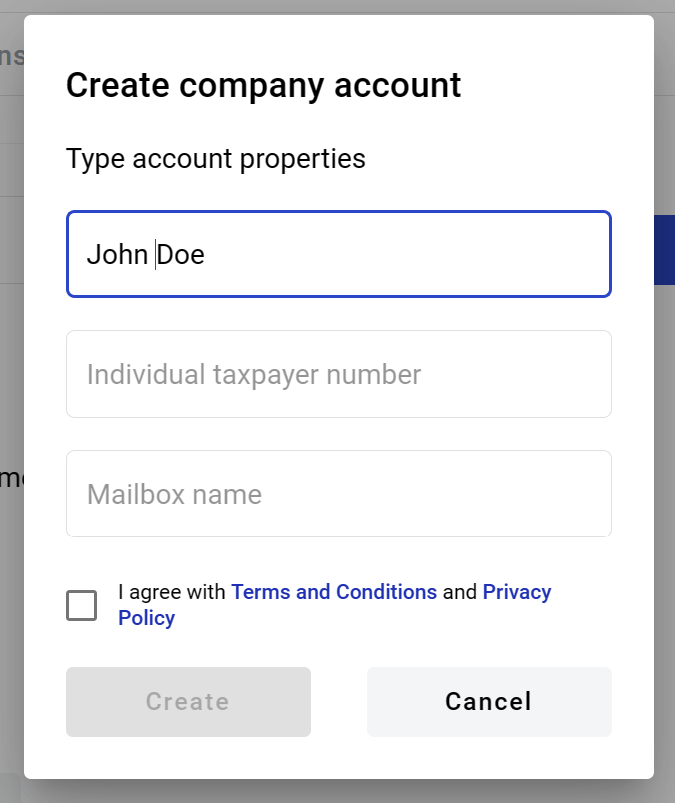
How to create a company account?
To register new personal account click the “Register company account” button
In opened window enter a name, ITN and mailbox name for the account
Select checkbox “I agree with Terms and conditions and Privacy policy”
Click the “Create” button (it will become active after previous steps are done)
How to update your password?
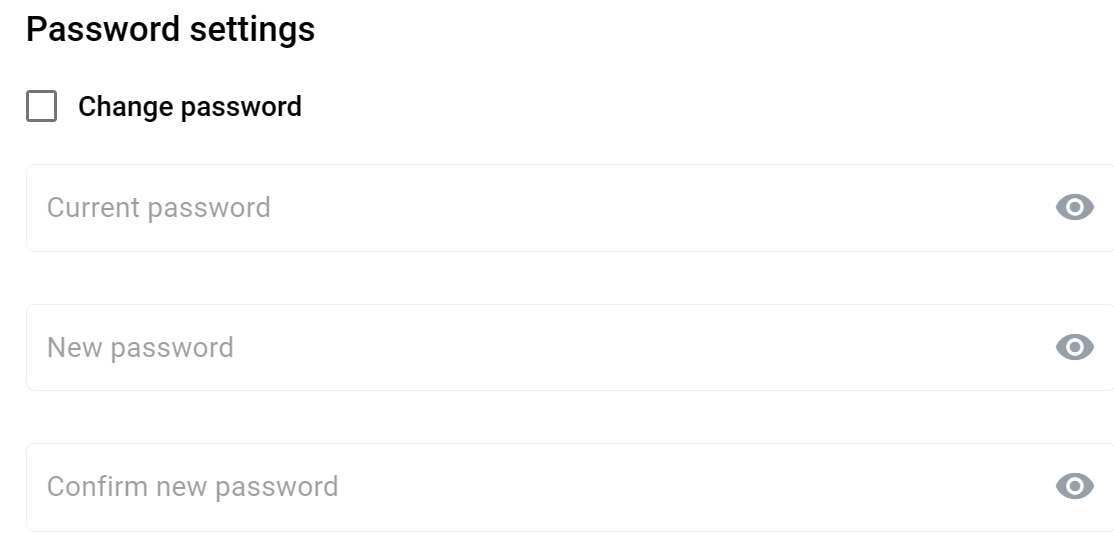
Check Change password checkbox
Enter current password
Enter new password
Confirm new password in second field
Click the “Save changes” button
How to upload a user icon?
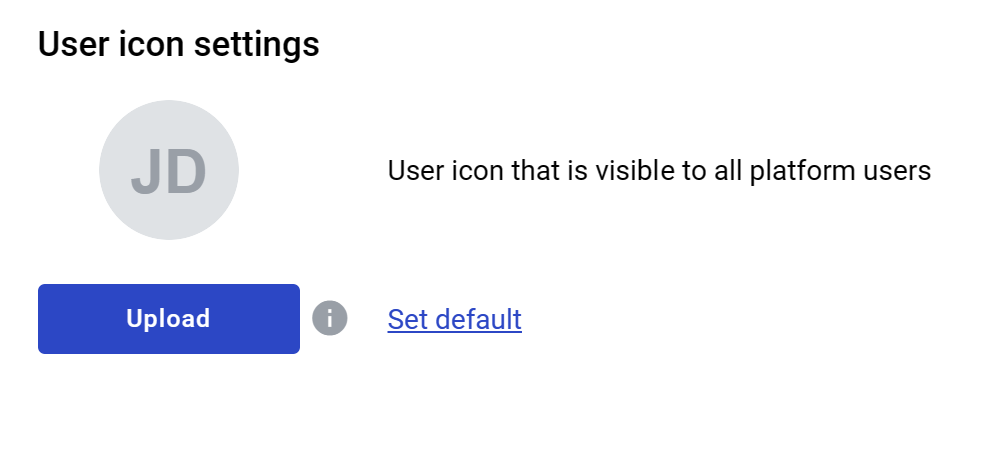
Click the “Upload” button and select an image
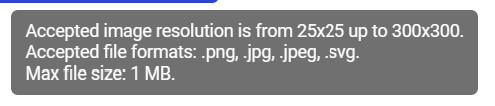
To see allowed image formats and sizes hover over info icon
Click the “Save changes” button to apply new icon
You can return default profile logo with “Set default” link
Invites page
This tab allows you to manage pending and accepted invitations to accounts and mailboxes from other users.

In the “Pending invitation” section you can see a list of invitations from other users. Each row represents an account where you are invited to (first column). Second column shows a list of account mailboxes where you are invited to. Each invitation can be accepted or declined.
In the “Accepted invitation” section you can see a list of already accepted invitations. Each row represents a mailbox (second column) where you are invited to. Accepted invitations are grouped by account (first column). Each mailbox where you accepted an invitation to can be left.
Forwarding page
Note
This functionality will be disabled if you do not have 2012 mailbox level permission (Delegate envelopes).
This tab allows you to configure automatic forwarding of all incoming envelopes.
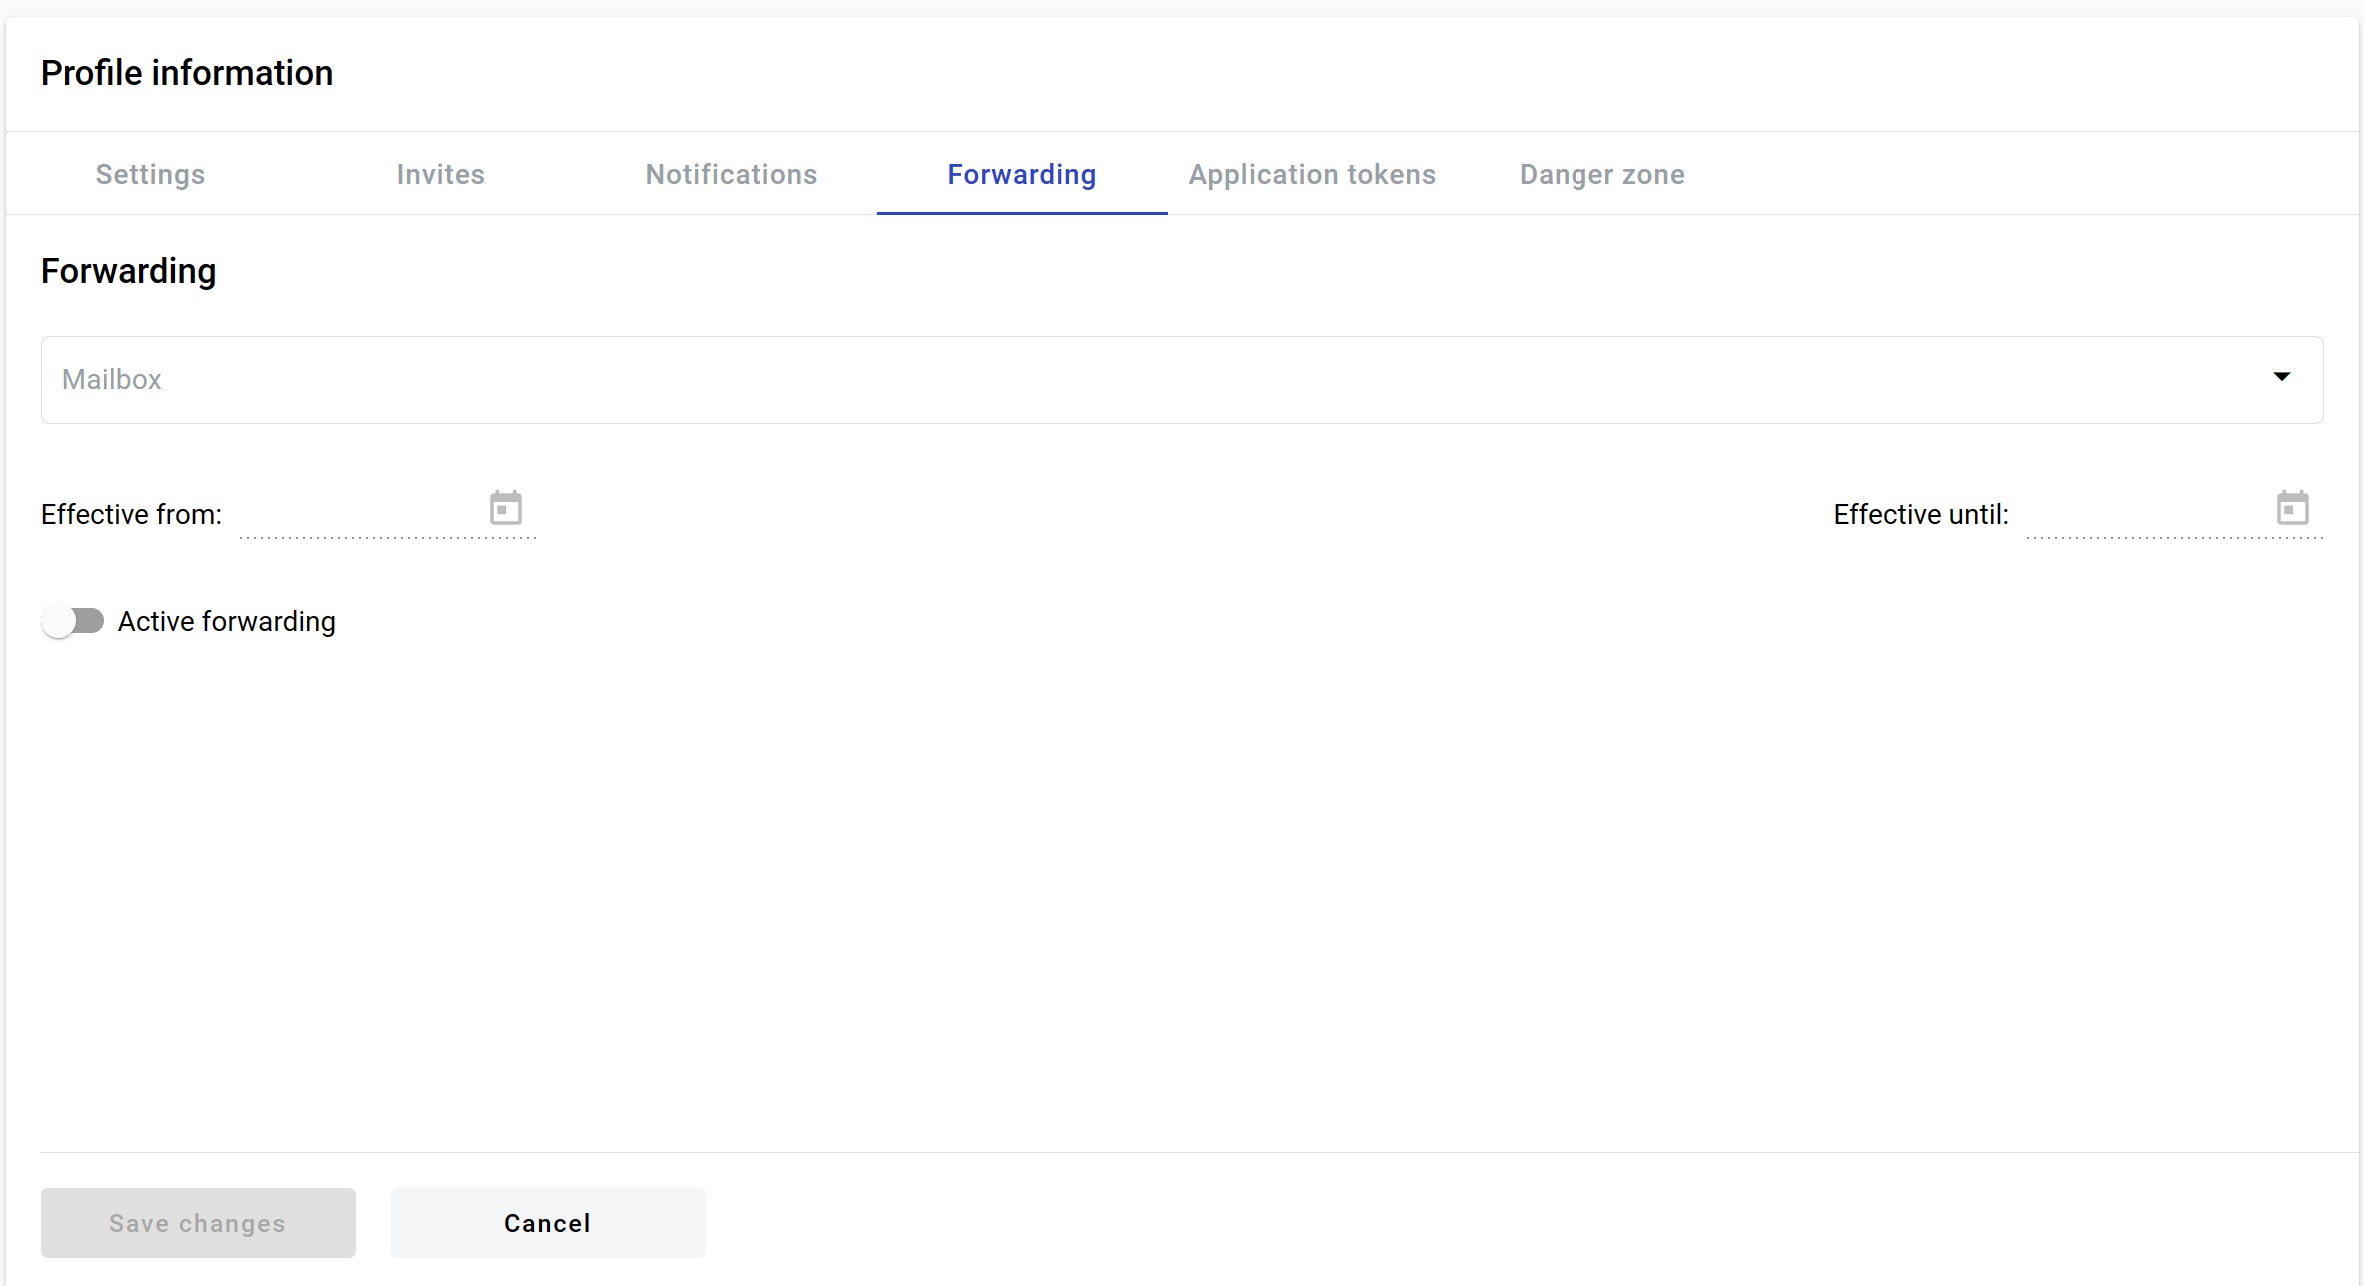
Select a target mailbox which will be a delegate of yours
Select effective from date - it will specify a start date of the forwarding period (can be left empty to start period immediately)
Select effective until date - it will specify an end date of the forwarding period (can be left empty to make period indefinite)
Enable “Active forwarding” toggle
Click the “Save changes” button
Forwarding is configured now. If you wish to disable it at some point later, you can disable “Active forwarding” toggle and click the “Save changes” button.
Danger zone page
Note
Option to remove own user profile can be restricted by instance settings. Danger zone tab will not be shown on Profile information page if so.
This tab allows you to delete your user profile.

Warning
After User profile deletion all Accounts with role “Account owner” will be deleted with all related data. You can keep all accounts and related data by following the insctructions below.

Delete user profile, accounts and all related data
Click the “Delete” button
Enter your email in upper case in the field in the modal window which opens after clicking thr “Delete” button
Click the “Confirm” button
After deletion of user profile you will be logged out and redirected to login page
Delete user profile, but keep accounts and all related data
Before deleting User profile you should assign a new account owner to all accounts where you have role Account owner role
After that you should go to Danger zone tab in user profile page and click the “Delete” button
Enter your email in upper case to the field in the modal window which opens after click the “Delete” button
Check “Keep the account and mailboxes” checkbox
Click the “Confirm” button
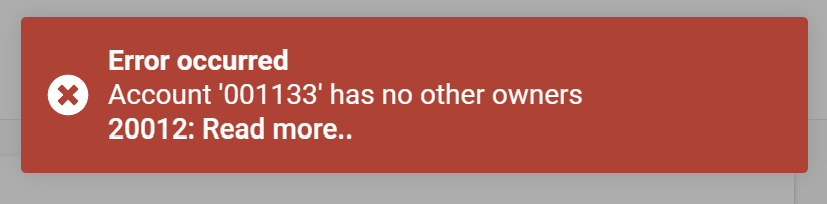
If all accounts where you have the account owner role has other owners your profile will be deleted, you will be logged out and redirected to login page. Otherwise you will see an error message in the right corner of the page
What happens with user data after deleting a user profile?
After user profile deletion next related data will be deleted as well:
Accounts where user has “Account owner” role
Mailboxes
Templates
Dictionaries
Contacts
Aliases
Envelope drafts
Note
Envelopes in the middle of the processing flow will not be deleted.