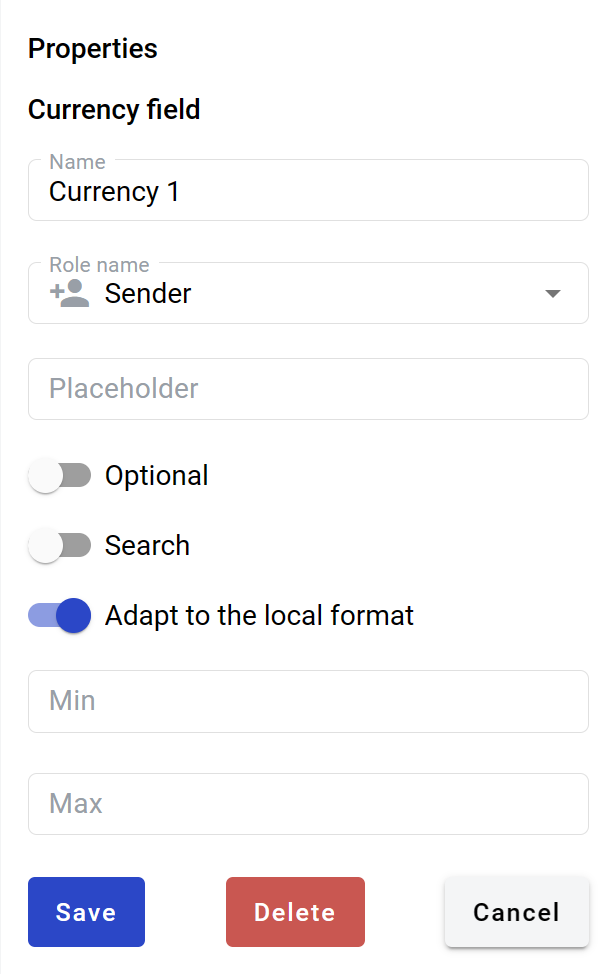
Currency field
This field allows you to create dynamic input box which will be filled by participants of the envelope processing flow.
Hint
This field can be added to structured and PDF documents.
How to add currency field to the document
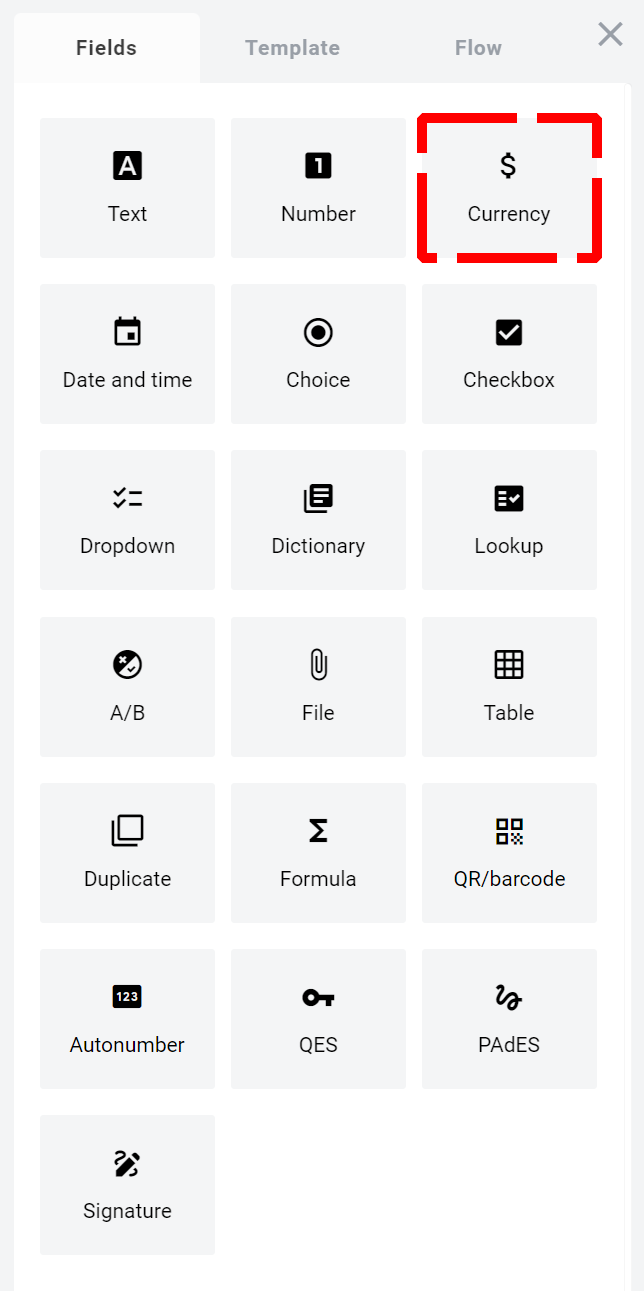
To add field to the document, use one of field adding methods with field icon in the Fields tab of template editor menu
Field creation form will appear, where you should set field attributes
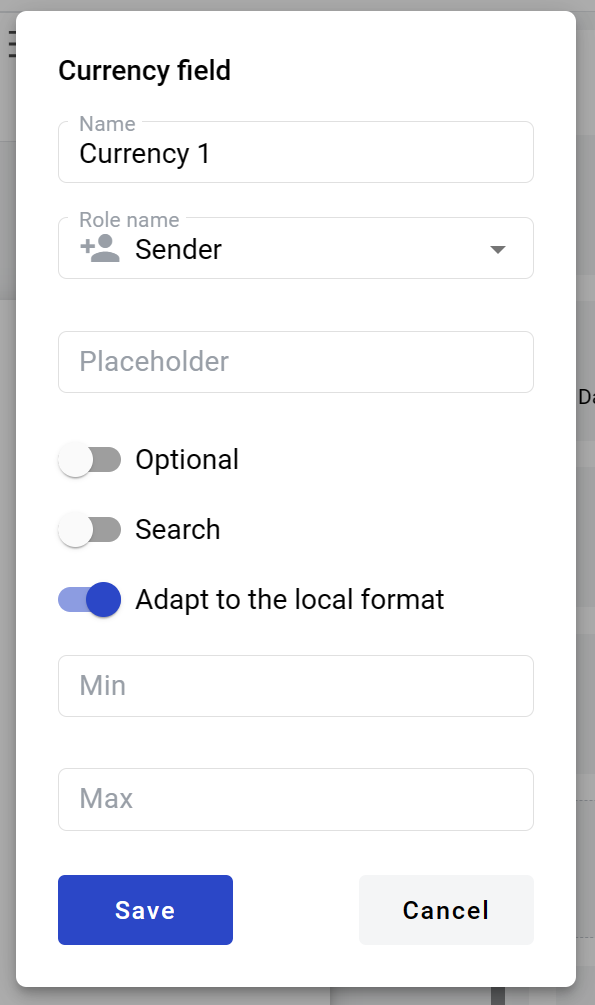
Name - this is a name of a field
Role name - this is a role which will be assgined to fill this field
Placeholder - this text will be shown in the input box before anything is filled in (can be left empty, field name will be used instead)
Optional - this attribute specifies if this field is mandatory to fill
Search - this attribute specifies if this field should be eligible for mailbox page search
Adapt to the local format - this attribute specifies if numbers will be formatted according to regional standard
Note
Numbers in envelope view will be formatted according to standard of a region which is selected on User profile page. You can see formatting example under region selector on that page. Numbers in printable versions of the documents will always be formatted according to platform region standard.
Min - minimal value allowed in field (no limit is applied if left empty)
Max - maximal value allowed in field (no limit is applied if left empty)
Warning
Maximum allowed character count for currency field is 15 (according to IEEE 754). Please note this includes decimal places. This means that if you insert a value 999999999999999 or more characters, it will be converted to 9999999999999.00.
When all attributes are set, you can click Save button and field will be added. You can click field to see its properties and update them. Also you can delete the field in same menu.